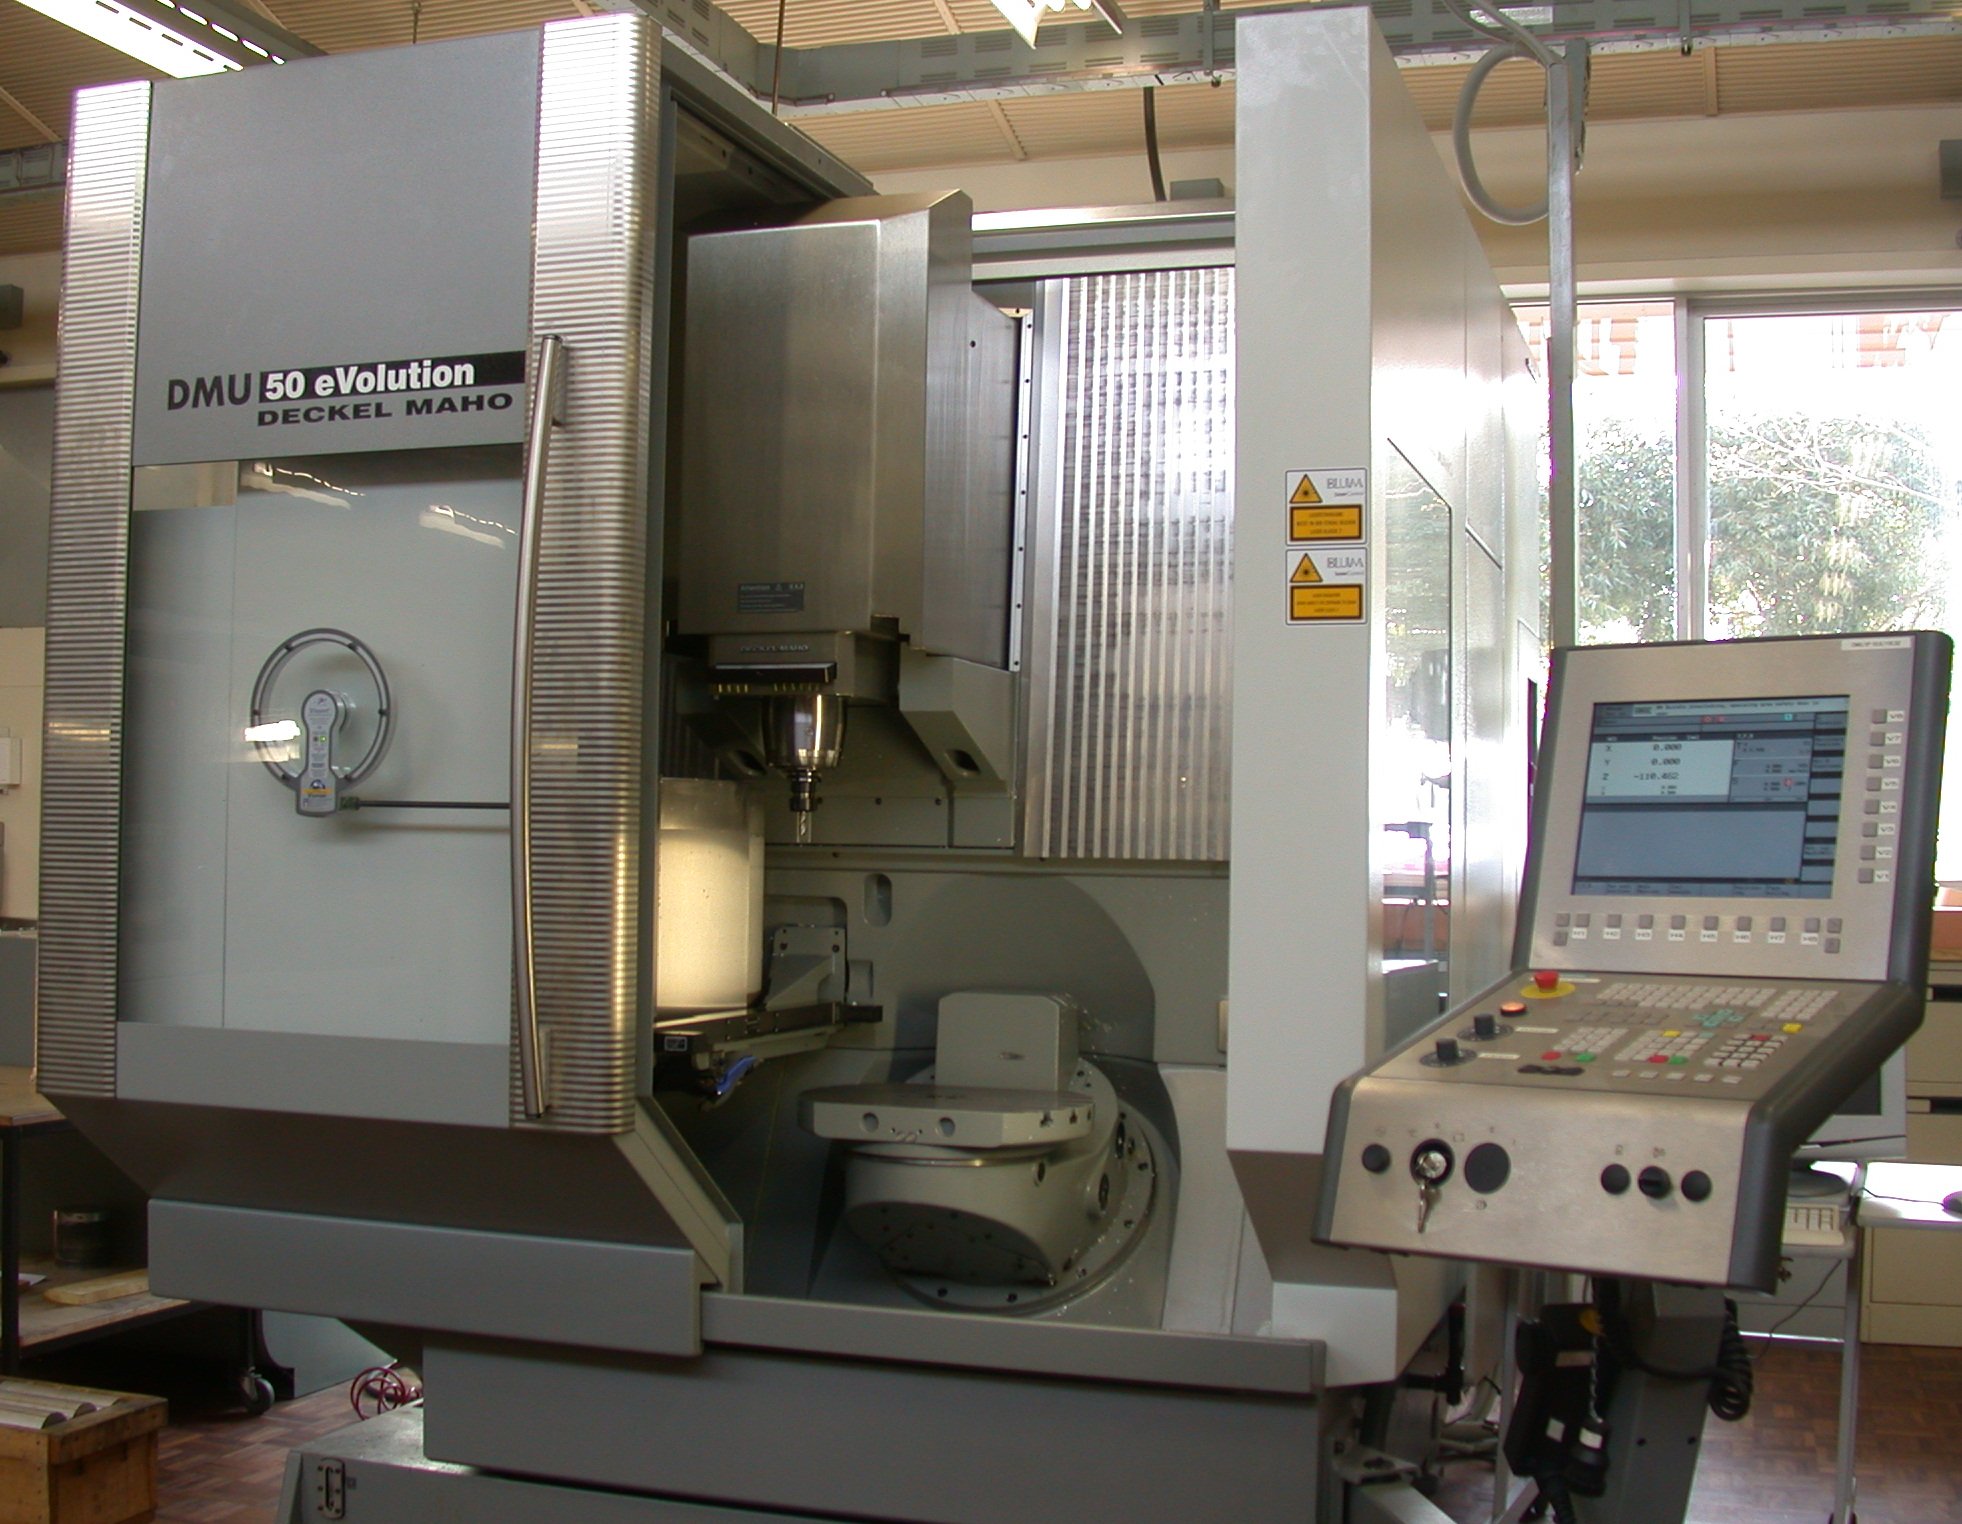

Why a finishing process needs a scorecard
Most finishing problems do not show up as a single dramatic failure. They show up as drift: cycle time creeps up, defects become normal, and everyone starts working around the process instead of improving it. A simple evaluation framework helps you spot that drift early.
In practical terms, evaluating a finishing process means checking whether it is delivering the surface quality, throughput, and consistency the shop actually needs. If the answer is fuzzy, the process is already asking for trouble.

1. Define the key performance indicators
Start by deciding what success looks like. If you cannot measure it, you cannot improve it without guesswork.
Key performance indicators are the small set of metrics that show whether the finishing process is performing as expected. For a manufacturing team, the most useful KPIs usually include:
- Cycle time: how long each part spends in the finishing step.
- Defect rate: the percentage of parts that miss the required finish or need rework.
- Throughput: how many acceptable parts the process produces in a given period.
- Surface quality: the measured finish against the target standard.
- Tool life: how long tooling lasts before quality begins to slip.
A useful rule: choose a few metrics that reflect both quality and speed. A process that is fast but unstable is not a win. It is just a faster way to make the same problem.
2. Conduct a process audit step by step
An audit is a structured walk-through of the current process. The goal is to find where variation, waste, or risk enters the system.
- Map the current workflow. Write down each step from part arrival to finished output.
- Collect baseline data. Pull recent numbers for cycle time, scrap, rework, and downtime.
- Observe the process in action. Watch a normal shift, not a best-case demo.
- Check for variation. Compare different operators, shifts, or machines.
- Look for hidden delays. Waiting for tools, setups, approvals, or inspections often matters more than the cutting step itself.
- Record root causes. Note what seems to trigger the most recurring problems.
For example, if one shift consistently produces better surface quality, the issue may not be the machine. It may be setup discipline, tool handling, or inspection timing. The process audit should help you separate those possibilities.
For a practical benchmark on process improvement methods, the National Institute of Standards and Technology and the American Society for Quality both publish useful quality-management material. Their guidance is not glamorous, which is usually a good sign.
3. Gather feedback from the people doing the work
Operators and technicians usually know where the process feels brittle. They also know which problems never make it into formal reports.
Good feedback methods include:
- Short shift handovers: ask what changed, what slowed down, and what failed.
- Anonymous surveys: useful when people may hesitate to mention recurring issues.
- Team review meetings: keep them short and focused on facts, not blame.
- One-on-one interviews: best for getting detail from experienced staff.
Example: if several operators say the same fixture takes too long to align, that is not “just feedback.” It is a design problem hiding in plain sight. The process should adjust, not the people.
Feedback is strongest when it is tied to a specific step. “The process feels clunky” is too vague. “We lose 12 minutes on every changeover because the tool check happens after setup” is something you can act on.

4. Turn findings into changes
Evaluation only matters if it leads to action. The trick is to change one or two variables at a time so you can tell what actually improved.
Use this sequence:
- Rank the findings. Start with the issues that affect quality, safety, or cost most heavily.
- Pick a small pilot. Test the change on one machine, one line, or one product family first.
- Set a before-and-after target. For example, reduce rework by 15% or cut setup time by 10 minutes.
- Train the team. Do not assume a process change is obvious once it is documented.
- Measure the result. Compare the same KPIs you used at the start.
- Standardise what works. Update the work instruction, checklist, or inspection routine.
If the change does not improve the numbers, treat that as useful information. It usually means the root cause sits somewhere else. Production systems are generous like that. They keep offering new ways to be wrong.
A simple evaluation flowchart
Keep the evaluation loop simple:
- Define the KPI.
- Audit the process.
- Collect feedback.
- Test a change.
- Measure the result.
- Standardise or adjust.
That loop works because it avoids the usual trap: changing three things at once and then arguing about which one helped.
For broader context on process and quality thinking, see the overview of total quality management. If you want more practical articles like this, browse our blog and the homepage.
Final takeaway
A strong finishing process is not just fast. It is measurable, repeatable, and easy to improve without drama. Define the KPIs, audit the workflow, ask the people doing the work, and then test changes in a controlled way. That is how a process gets better without becoming a guessing contest.