
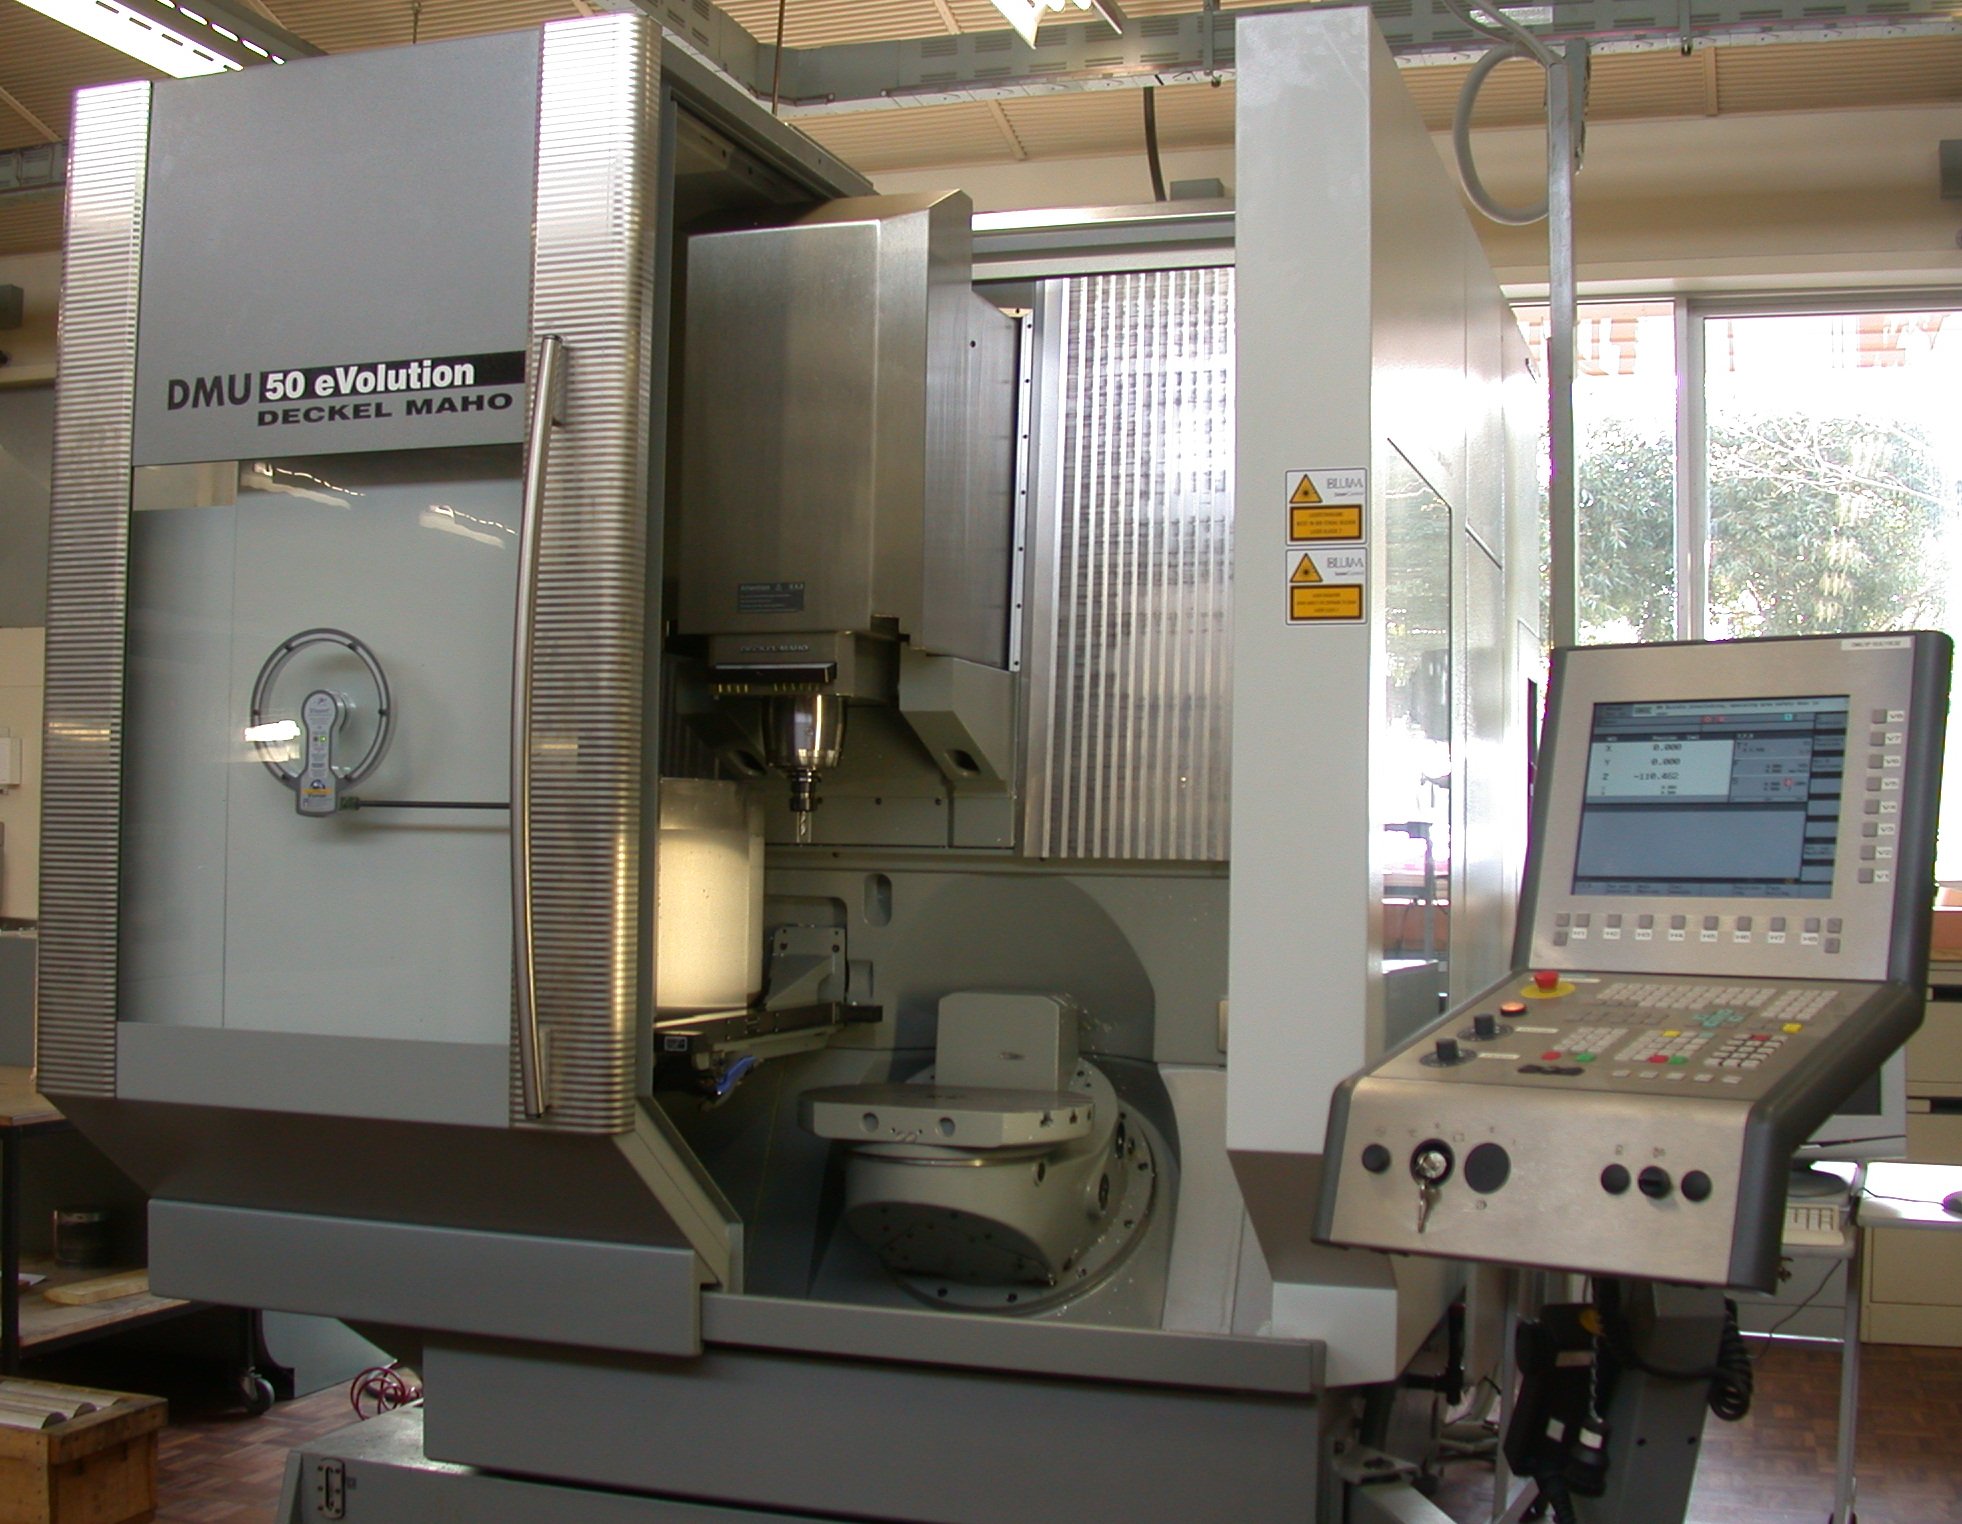
When a micro CBN finishing demo looks impressive, the real question is usually boring in the best possible way: which parameters made it work, and can those settings be repeated on your part family later?
That is where parameter clarity matters. If the machine, tooling, coolant, workholding, measurement method, and acceptance criteria are all written down the same way every time, the conversation gets much easier. If not, the demo can turn into a very expensive version of “it seemed fine at the time.” Sandvik Coromant’s overview of cutting tool materials is a useful plain-language reference for where polycrystalline CBN fits in the shop-finish toolbox.
This guide gives you a simple way to capture the important details, compare vendor setups fairly, and turn demo notes into a trial plan you can actually use. If you want the broader event context, the blog, CIMES, and IMTS pages are good places to start, along with the services and contact pages when you are ready to talk through a setup.

Why parameter clarity matters for micro CBN finishing
Micro CBN means a very small cutting or finishing tool that uses cubic boron nitride, a superhard material often chosen for precision work on hard or difficult materials. In plain language, it is a tool that can produce a very fine finish, but only if the setup is controlled.
The short version is this:
- Surface finish changes when the cutting conditions wander.
- Tool life changes when runout, stick-out, or coolant delivery are off.
- Cycle time changes when the demo setup is not realistic for production.
That is why a vendor demo should not end with “nice result.” It should end with a repeatable parameter set, a measurement method, and a clear list of what still needs testing in-house.
The 1-page parameter intake checklist
If you only have time for one page of notes, use this structure. It keeps the conversation focused without turning the meeting into a courtroom exhibit.
| What to record | Why it matters | Plain-language example |
|---|---|---|
| Machine model and axis condition | Rigidity, control behavior, and spindle condition affect finish quality. | Vertical machining center, recent spindle service, stable enclosure temperature. |
| Spindle speed range | Shows whether the demo used a realistic speed for your process window. | 12,000 rpm during the finish pass, not just a vague “high speed” claim. |
| Coolant strategy | Flood, mist, through-tool, or dry conditions can change wear and surface quality. | High-pressure coolant aimed directly at the cut instead of a general splash. |
| Workholding | Clamping style affects vibration, distortion, and access to the finish surface. | Soft jaws with short clamp overhang rather than a long, springy setup. |
| Part material and hardness | Micro CBN behavior depends heavily on the actual material state. | Heat-treated steel versus soft pre-machined stock. |
| Geometry and critical features | Small radii, thin walls, and micro-features often need their own parameters. | A narrow groove or tiny edge break that cannot be treated like a flat face. |
| Target surface quality | Lets everyone agree on what “good” means before the demo starts. | Ra target, edge quality notes, and any cosmetic limit. |
If the vendor can give you this information in writing, you are already ahead of the usual “let’s see what happens” approach.
Speed, feed, and depth of cut: what to ask for
Spindle speed is how fast the tool rotates. Feed rate is how quickly the tool advances through the material. Depth of cut is how much material the tool removes in one pass. Those three numbers are the core of the process, but they should never be viewed in isolation.
During a demo, ask for the actual range used, not just the best-looking number on the screen:
- What was the starting speed, feed, and depth of cut?
- Was the tool run at the same setting for every part, or adjusted between passes?
- Was the setup tuned for appearance, surface finish, or cycle time?
- What happened when the vendor moved the parameters closer to production conditions?
It also helps to note whether the result was taken from the first part, the best part, or a stabilized run after the process had settled. Those are not the same thing, even if the booth lighting makes them look equally convincing.
For a plain-language refresher on cutting-data basics, Sandvik Coromant’s cutting data guide is a useful cross-check.
Tooling details that actually change outcomes
Two tools can look almost identical and still behave very differently. The small details are usually the ones that decide whether the finish holds up after the demo.
Pay attention to these points:
- Geometry: The tool profile, edge shape, and contact area influence how the tool enters the cut and how it leaves the surface.
- Grade: The CBN grade or substrate choice affects wear resistance, edge stability, and how forgiving the tool is.
- Coating or edge treatment: Some tools use a coating or a special edge prep to improve performance in certain materials.
- Stick-out: This is how far the tool extends from the holder. More stick-out usually means more flex.
- Runout: This is the small amount the tool tips or spins off-center. Even tiny runout can matter when the feature itself is tiny.
- Holder and clamping style: The best cutting edge in the world will not rescue a loose or awkward holder setup.
If you need a visual refresher on why runout matters, Keyence’s run-out tolerance overview is a handy explanation.
A practical way to think about it: if the vendor changes the holder, the overhang, or the tool edge prep, you are not comparing like with like anymore. You are comparing a different process.
Measuring and acceptance: define the metrics up front
Ra is a common surface roughness average. Rz is another roughness metric that looks at height variation differently. You do not need to become a metrology textbook to use them well, but you do need to know which one the vendor used and how it was measured.
For a plain-English refresher on what Ra and Rz describe, Keyence’s surface roughness parameter guide explains the basics, and Mitutoyo’s roughness measurement guide shows how those values are captured in practice.
Before you accept a result, agree on the following:
- Which roughness metric counts: Ra, Rz, or both.
- Which measurement tool was used and where on the part it was taken.
- What dimensional tolerance matters most.
- What edge quality looks like for your part family.
- Whether the acceptance standard is cosmetic, functional, or both.
That last point matters more than people admit. A part can look beautiful on a stand and still miss the functional requirement if the measurement method is loose or the acceptance rule is vague.
How to compare two vendor setups fairly
Fair comparison is mostly about removing the hidden advantage from one setup so the process itself can be judged honestly.
- Use the same material state. Do not compare one vendor’s hardened sample with another vendor’s soft sample.
- Match the fixturing as closely as possible. If one demo uses a rigid custom fixture and the other uses a quick clamp, the comparison is already tilted.
- Use the same measurement method. Same gauge, same location, same number of readings.
- Record the same process window. Speed, feed, depth of cut, coolant, and tool overhang should be visible on both notes.
- Judge the same outcome. Do not compare one vendor on finish and the other on cycle time unless that is the actual buying criterion.
A simple test: if you cannot explain why the two setups are equivalent in one sentence, the comparison is probably not fair yet.
Common missing info during demos
The most useful questions are often the ones nobody asks until after the booth staff has already moved on to the next visitor.
- What exact insert or cutting edge was used?
- Was the tool fresh, broken in, or near change-out?
- How was runout measured?
- What was the tool stick-out from the holder face?
- Was the coolant aimed at the cutting zone or just generally present?
- How many parts were run before the demo sample was chosen?
- What measurement method confirmed the finish result?
- What changed when the operator repeated the run?
Those questions do not slow the conversation down. They make it useful.
A simple next-step workflow
Here is the clean version of the post-demo process:
- Collect the demo notes while the details are fresh.
- Move the notes into a short trial plan with fixed fields for machine, tool, coolant, workholding, and measurement.
- Check whether the demo setup matches your real part family closely enough to be worth a plant trial.
- Run the trial with the same acceptance criteria you used at the booth.
- Decide whether the process is ready for follow-up, adjustment, or a polite “not yet.”
Some teams turn that checklist into a shared internal form so every visit starts with the same fields. A neutral web app generator can be a practical way to build that kind of lightweight workflow without turning it into a full software project.
If you want a concrete example of how to keep the process tidy, a simple worksheet is often enough. The point is not fancy software; it is making sure the same questions are answered every time.
For a broader technical conversation or a follow-up on a specific setup, start with the services page, then use contact to ask for the next step. If you are still comparing event options, the CIMES and IMTS pages are the quickest places to compare the event context around your visit.
Bottom line: micro CBN finishing becomes much easier to evaluate once the parameters stop being a mystery. Write down the numbers, define the measurements, and compare the setups on the same terms. That is the short version of the buyer’s guide, and it saves a lot of awkward “we thought it was the same” conversations later.