A high-speed finishing workshop only works if it is built like a decision, not a show. If the agenda cannot answer one simple question, it is not an agenda. It is an expensive calendar invite with coffee.
Before I sit down to plan one of these sessions, I ask four blunt questions: What decision are we trying to make? Who needs to be in the room? What evidence will count? What happens next if the demo is useful? If those questions make everyone slightly uncomfortable, good. That means the workshop is about reality, not ceremony.
The reason this matters is not mysterious. Measurement discipline matters because surface quality has to be judged against something real, not against the mood in the room. The NIST Surface Finish Metrology Tutorial is useful here because it shows how roughness measurement actually works, which is a polite way of saying that guesswork is not a measurement plan. If you want the management version of that lesson, the W. Edwards Deming quote archive still says the obvious thing people keep forgetting: data exist to drive action, not to decorate slides.
This article is for the person who has to turn a vendor workshop, booth demo, or machine-room session into a usable decision. You will get a structure for setting goals, a pre-work list, a timeline that does not waste everyone’s afternoon, a question set that forces real answers, and a follow-up method that turns notes into the next trial. If you need the broader site context first, start at the Home page, check the Services page for the support areas that matter, and keep the Downloads page handy for worksheets and reference material.
Terminology: the few terms that matter
People love jargon until they need to explain a result. Then the vocabulary suddenly matters. Here is the short version.
| Term | Plain meaning | Why it matters in the workshop |
|---|---|---|
| High-speed finishing | A finishing operation designed to improve surface quality and consistency with stable tool motion and controlled parameters. | It defines the process under review. If people mean roughing, semi-finishing, and polishing all at once, the agenda has already gone sideways. |
| Workholding | The fixture, clamp, or chuck arrangement that keeps the part where it belongs. | Poor workholding can make a good tool look bad. That is not a discovery; it is just expensive physics. |
| Repeatability | Whether the same setup gives the same result more than once. | If the demo cannot be repeated, the workshop cannot be trusted. |
| Surface roughness | A measurement of texture on the finished surface, often reported as Ra, Rz, or similar values. | This is one of the few numbers in the room that actually means something if it is measured correctly. |
| Acceptance criteria | The threshold that says a result is good enough to advance. | Without this, the workshop becomes a debate about feelings wearing safety shoes. |
1. Workshop goal setting
The first job is to define the decision the workshop should support. Not the theme. Not the marketing angle. The decision.
Good examples are boring in the best possible way:
- Do we proceed to a tool trial on our own machine?
- Do we rule out a process because the surface quality target is unrealistic for this part family?
- Do we need different workholding before we waste more time on cutting parameters?
- Do we have enough evidence to justify a second visit, a sample run, or a request for quotation?
I like to write the workshop goal as a single sentence at the top of the agenda. For example: “By the end of this session, we will know whether the proposed finishing process is stable enough to move into a controlled shop-floor trial.” That sentence is hard to hide behind, which is exactly why it works.
The goal should also match participant expectations. If management wants a purchase recommendation and the engineering team expects a teaching demo, the room will leave with everybody slightly annoyed and nobody aligned. That is not failure in a dramatic sense. It is failure in the ordinary sense, which is more common.
What a useful goal looks like
| Goal type | Example wording | Result |
|---|---|---|
| Decision goal | Decide whether the demo supports a trial on the target part family. | Either move forward or stop pretending. |
| Learning goal | Identify which tooling, workholding, and measurement choices affect finish quality the most. | Better questions, fewer superstition-driven debates. |
| Validation goal | Confirm whether the finish is stable enough to justify a second-stage trial. | A documented next step, not a vague “interesting result.” |
2. Pre-work: 1 to 2 weeks before the session
The workshop starts long before anyone walks into the room. If you arrive with no part data, no tolerances, and no idea what machine or tool constraints apply, the session will drift toward theater. Some people enjoy theater. The shop floor usually does not.
Here is the pre-work I would not skip:
- Collect the part drawing, critical tolerances, and surface finish requirements.
- Identify the machine model, spindle limits, tool interface, coolant strategy, and any software constraints.
- List the material, heat treatment state, and any coatings or post-processing steps that matter.
- Write down the current process baseline, including cycle time, scrap risk, and inspection method.
- Document the biggest constraints first: part size, clamp access, chip evacuation, heat, vibration, or measurement access.
That last item matters because workshops love to ignore the boring constraint that breaks everything. If a part cannot be held safely, or a probe cannot reach the surface that matters, the rest of the conversation is decorative.
For finishing processes, a quick read of Sandvik Coromant’s profile milling guidance is a decent reminder that finishing is not just “go slower and hope harder.” The article notes that super-finishing often uses high-speed techniques and that roughing and finishing should be treated as separate problems when accuracy matters. This is not exciting, which is why it is useful.
Pre-work checklist
| Item | Owner | Why it matters |
|---|---|---|
| Drawing and tolerances | Process engineer | Defines the target, not the hope. |
| Machine details | Machine owner or programmer | Prevents impossible demo planning. |
| Tooling and workholding notes | Tooling lead | Shows which variables can be changed on the day. |
| Inspection method | Quality or metrology | Stops people from declaring victory with no measurement. |
| Constraints and risks | Workshop owner | Prevents late surprises disguised as “learning.” |
3. Agenda structure that actually works
A useful agenda has a spine. It moves from context to demonstration to discussion to next steps. That is not glamorous, but it does keep adults from wandering around the machine waiting for inspiration.
A practical two-hour structure looks like this:
| Time | Segment | Purpose | Output |
|---|---|---|---|
| 0:00-0:10 | Welcome and objective | State the decision and success criteria. | Shared goal. |
| 0:10-0:25 | Process overview | Explain material, machine, tooling, and measurement assumptions. | Shared baseline. |
| 0:25-0:55 | Demo pass 1 | Show the starting setup and first result. | Initial observations. |
| 0:55-1:20 | Guided troubleshooting | Change one variable and observe the effect. | Cause-and-effect notes. |
| 1:20-1:40 | Measurement and review | Check finish quality, stability, and repeatability. | Recorded measurements. |
| 1:40-2:00 | Next-step planning | Decide what trial, sample, or follow-up is needed. | Action list with owners. |
Notice what is missing: long speeches, vendor storytelling, and the kind of “overview” slide that tells you the demo was planned by someone who fears specificity. Keep the opening short. Move into the process quickly. The machine is the point, not the preamble.
What to say at the start
Use the opening to lock in the rules:
- What part or feature is being demonstrated.
- What result counts as a success.
- What variables may change during the session.
- Who is recording notes, measurements, and action items.
If the room cannot agree on those four items, the agenda is not ready.
4. Hands-on segment design
The demo should reveal something useful, not just run smoothly. Smooth demos are pleasant. Useful demos change decisions. Those are not the same thing, despite the persistent optimism of marketing departments.
Choose demo steps that expose one or more of these conditions:
- Surface finish improvement on a specific feature.
- Stability across repeated passes.
- Edge quality or burr behavior.
- Tool wear sensitivity.
- Workholding sensitivity.
- Measurement access and inspection repeatability.
The most useful demos are narrow. One part. One feature. One material. One machine. One measurement method. That is enough. If the setup needs twelve variables to look impressive, it is probably not ready for real work.
For a concrete example, Mitutoyo’s surface-finish inspection case study shows the value of documenting inspection results cleanly and archiving them for traceability. That is not a “nice to have” detail. It is the difference between a useful demo and a memory that dies in somebody’s inbox.
A second example comes from Renishaw’s surface finish probe overview, which shows how surface-finish measurement can be integrated into a broader inspection process. Again, the lesson is not the brand. The lesson is that measurement should travel with the process, not follow it around like a confused afterthought.
Demo rules I use
- Change one thing at a time. If you change the tool, the feed, and the fixture in one move, you did not learn three things. You learned nothing cleanly.
- Repeat the key pass. One pass proves very little. Two or three repeated passes show whether the setup is stable.
- Measure the feature that matters. Inspect the same geometry the customer actually cares about.
- Keep the clock visible. Time matters, but only if the part is still acceptable afterward.
5. Question prompts for participants
The right questions do two jobs at once. They pull technical detail out of the room, and they expose whether the presenter understands the process or just memorized a sales deck.
Tooling and parameters
- Why was this cutter geometry chosen for this material and finish target?
- Which parameter is most sensitive here: feed, speed, step-over, depth of cut, or tool path strategy?
- What parameter range is considered safe before surface quality starts to drift?
- What would force a different tool grade or coating?
Workholding and machine setup
- What part movement or deflection are we trying to eliminate?
- How does the fixture support the feature being finished?
- Which machine limitations matter most: spindle behavior, thermal drift, access, or vibration?
- What would break repeatability if we run the same part again tomorrow?
Measurement and quality
- Which surface metric are we using, and why that one?
- How was the baseline measured before the workshop?
- What inspection method will we use after the demo on the shop floor?
- What would count as an acceptable improvement, not just a prettier surface?
There is a useful sentence to keep in your pocket: “What would make this result unacceptable?” It sounds awkward because it is. That is the point. A polite question often hides an evasive answer. An ugly question tends to pull the mechanism into the open.
6. Live feedback loop
The notes taken during the session should not be a diary. They should be a capture system. If a person writes a paragraph every ten minutes, they will produce a beautiful record of confusion. Keep it short and structured.
I use a simple template like this:
| Field | What to record | Example |
|---|---|---|
| Part / feature | Exactly which surface or geometry is under discussion. | Finishing pass on the bore face. |
| Setup | Machine, tool, workholding, coolant, and measurement method. | 5-axis machine, short projection cutter, rigid fixture, air blast. |
| Observation | What you saw, not what you think it meant. | Stable chip flow, minor chatter at entry. |
| Measurement | Any actual numbers taken during or after the demo. | Ra improved from 0.8 to 0.5 on repeated passes. |
| Decision | Proceed, repeat, adjust, or stop. | Repeat with modified clamp setup. |
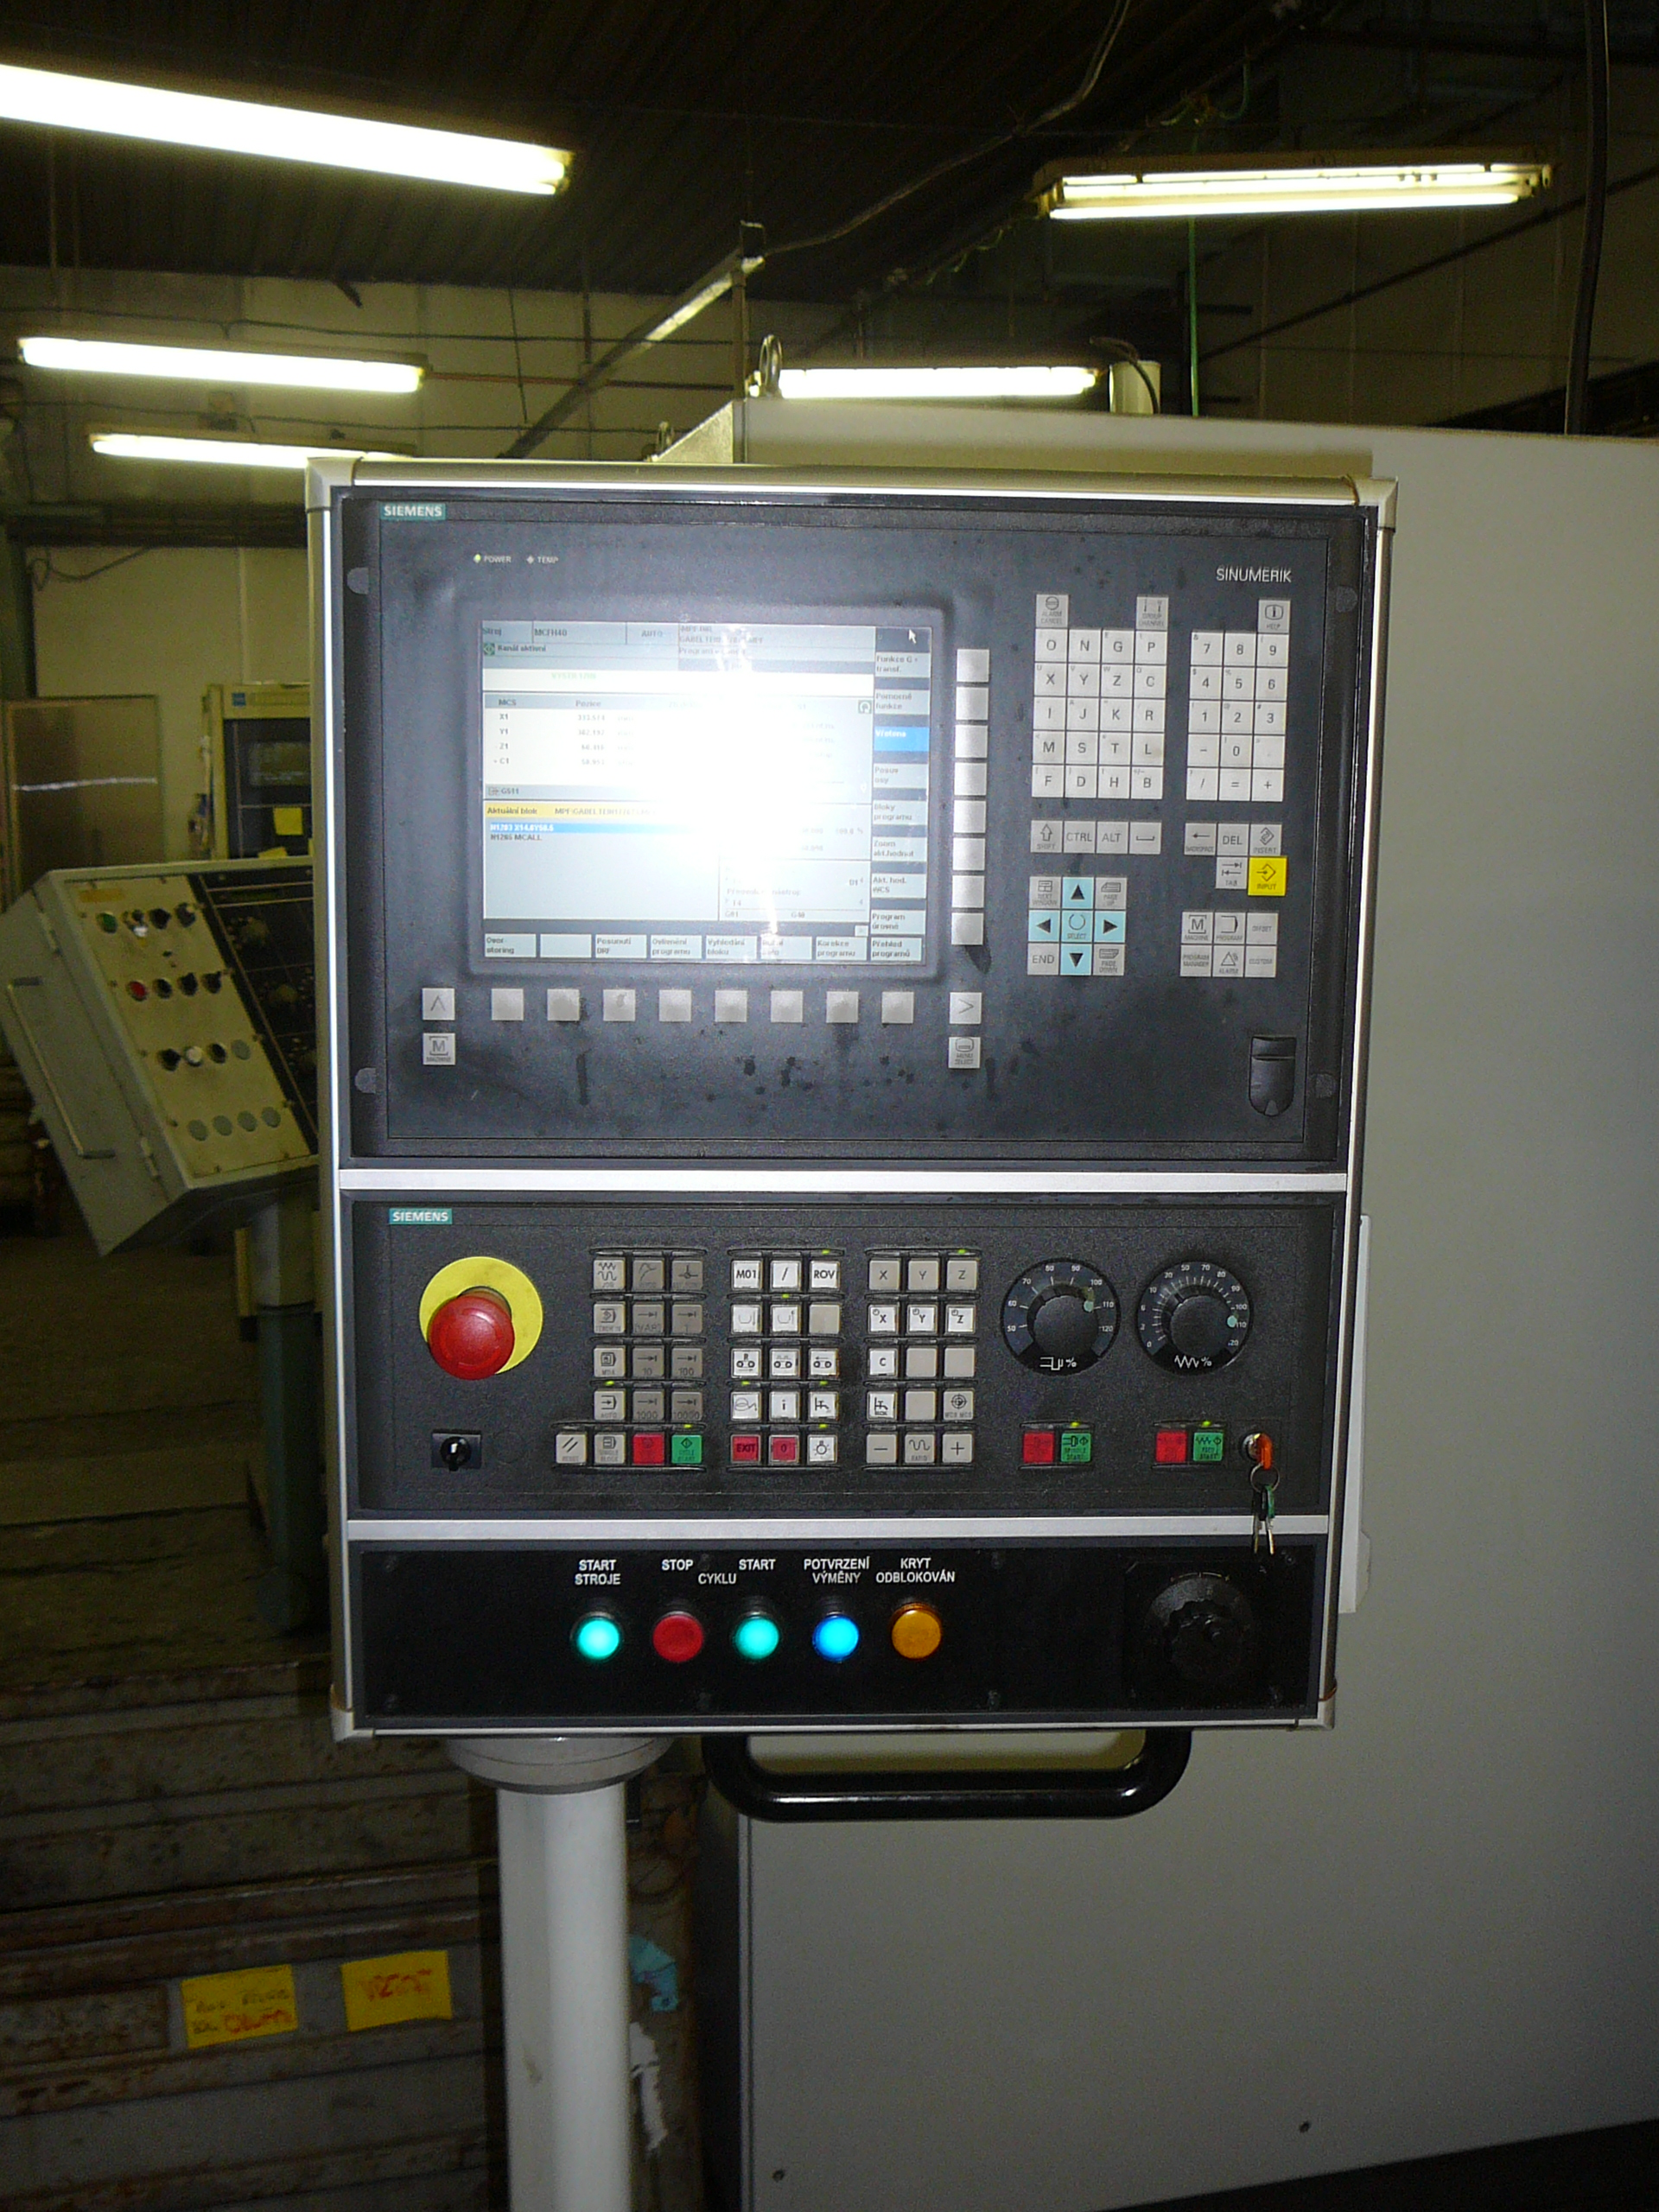
During the live session, I like a second visual aid to sit beside the machine notes, not buried in someone’s laptop. The shop-floor checklist image below does that job. It is blunt, compact, and slightly rude, which is perfect for a workshop.
One more practical rule: capture observations while the demo is happening. If you wait until the end, memory will tidy up the mess and invent a cleaner story than the machine deserves.
7. Outcome capture
A workshop only earns its keep if the notes become a next action. Otherwise it is a performance of seriousness, which is common and mostly useless.
At the end of the session, convert the notes into three outputs:
- Evaluation summary. What was demonstrated, what was measured, and what remains uncertain.
- Trial plan. What needs to be tested on the actual part or on a representative sample.
- Decision gate. What evidence is required before the next commitment is made.
I prefer to write the summary in plain language. No dramatic language. No victory laps. Just the facts:
- The demo achieved the target finish on the selected feature.
- The setup held under repeat passes, or it did not.
- Measurement access was sufficient, or it was not.
- One or two variables still need testing before sign-off.
Follow-up template
| Action | Owner | Due | Evidence required |
|---|---|---|---|
| Send sample data and setup notes | Workshop host | Within 2 business days | Part number, tool, parameters, photos |
| Run shop-floor verification trial | Process engineer | Within 1 to 2 weeks | Measured finish and repeatability notes |
| Review measurement method | Quality lead | Before sign-off | Clear baseline and acceptance criteria |
8. Assigning owners
Nothing dies faster than a workshop follow-up with no owner. Everybody agrees it is important. Nobody is responsible. The item then slips into the deep, quiet hole where good intentions go to become “we should revisit this later.”
Assign owners before the workshop ends:
- Sample owner: handles parts, tooling, and setup details for the next trial.
- Measurement owner: controls the inspection method and documentation.
- Process owner: decides whether the next trial is ready to run.
- Sign-off owner: approves whether the results are good enough to move forward.
For some teams, this will sound painfully formal. That is fine. The alternative is “everybody thought somebody else had it,” which is how preventable delays keep winning.
If the session reveals a broader support need, the Contact page is the right place to turn that into an actual follow-up, and the Blog index is where readers can keep going if they want more practical breakdowns instead of another generic recap.
9. Common pitfalls and fixes
The same mistakes appear in these workshops over and over. I do not say that to be dramatic. I say it because repetition is how bad process design announces itself.
| Pitfall | What it looks like | Fix |
|---|---|---|
| Unclear success criteria | Everyone leaves saying the demo was “interesting.” | Define the pass/fail threshold before the first cut. |
| Too many variables | Tool, fixture, material, and parameters all change at once. | Freeze everything except one test variable. |
| No measurement plan | People admire the part and argue about finish quality. | Choose the metric, method, and record format in advance. |
| Wrong attendees | The decision-maker is absent and the operator is not in the room. | Bring the person who can say yes, and the person who knows the machine. |
| No action items | People thank each other and wander off. | Assign owner, due date, and evidence before the meeting ends. |
The fix for most of these problems is unromantic but effective: define the objective, limit the variables, record the data, and assign the next step. That is all. Everything else is mood lighting.
What I would keep on the table
If I were planning this workshop tomorrow, I would keep five items visible the entire time:
- The target decision.
- The part drawing and tolerances.
- The measurement method.
- The change log for the demo variables.
- The follow-up owner list.
That list is the difference between a useful session and a polite waste of time. Not because people are lazy. Because even smart people drift when the process lets them.
Conclusion
A high-speed finishing workshop does not need drama. It needs structure, measurement, and enough discipline to stop the room from calling confusion “alignment.” Start with a decision, collect the boring pre-work, keep the agenda tight, design the demo to reveal something real, and record the result while it is still happening.
If you do those things, the workshop can produce an actual outcome: a trial plan, a measurement standard, or a clean stop signal. Any of those is better than a stack of notes and a group photo with people pretending the agenda worked because the machine ran.
Use the Downloads page for the checklist, send the follow-up through Contact, and keep the Services page in mind if the demo points to a process problem that needs more than one meeting to solve. The whole point is to get from demo metal to real questions, and then from real questions to a decision that survives contact with the shop floor.
- Define the decision first.
- Collect the part, machine, and measurement details before the workshop.
- Use a short agenda with one variable at a time.
- Write down observations and measurements during the session.
- Assign owners before anyone leaves the room.